“The eye should learn to listen before it looks.”
— Robert Frank
This is the beginning of my new photography blog. I’m just getting this new blog going, so stay tuned for more. Subscribe below to get notified when I post new updates.
“The eye should learn to listen before it looks.”
— Robert Frank
This is the beginning of my new photography blog. I’m just getting this new blog going, so stay tuned for more. Subscribe below to get notified when I post new updates.
If there is anything I need or want to improve, it would be engagement. I learned a lot from this assignment that I will translate to my own website that I plan to build. I will work a lot harder to promote that site across all platforms.
I could have promoted the content I have now and future content better by showing them across all platforms like Instagram and Facebook. I only promoted this page via Twitter, which I have been inactive on for years, because of this, engagement was unsurprisingly low.
My best experience from this project was reaching out to Josh Katz, a New York based street photographer that I have been following for years now. It was nice to gain some perspective from him and get a chance to share my appreciation of his work.
As I said before, this experience is invaluable when it comes to building my official website that I plan to fully promote outside and inside of school. I am re-familiarized with wordpress and html/css. These skills are going to be utilized countless times.
HTML and coding are going to play a huge role in my ability to maintain a high-level job or internship in digital innovation, these skills give me that much more of a leg up not only in my own photography development but in a more professional sense as well.
I want to preface by saying I do not post a screenshot of my site stats because I had zero engagement. So as far as my questions for Site Stats, it was fairly unsurprising. As i said. I only promoted this page via Twitter, which I have not used in many years. Although, I would like to talk about my Instagram and stats I have seen from my work posted there. My best week saw 8000+ impressions. I would like to link some posts of mine that were well received on my other social media pages.
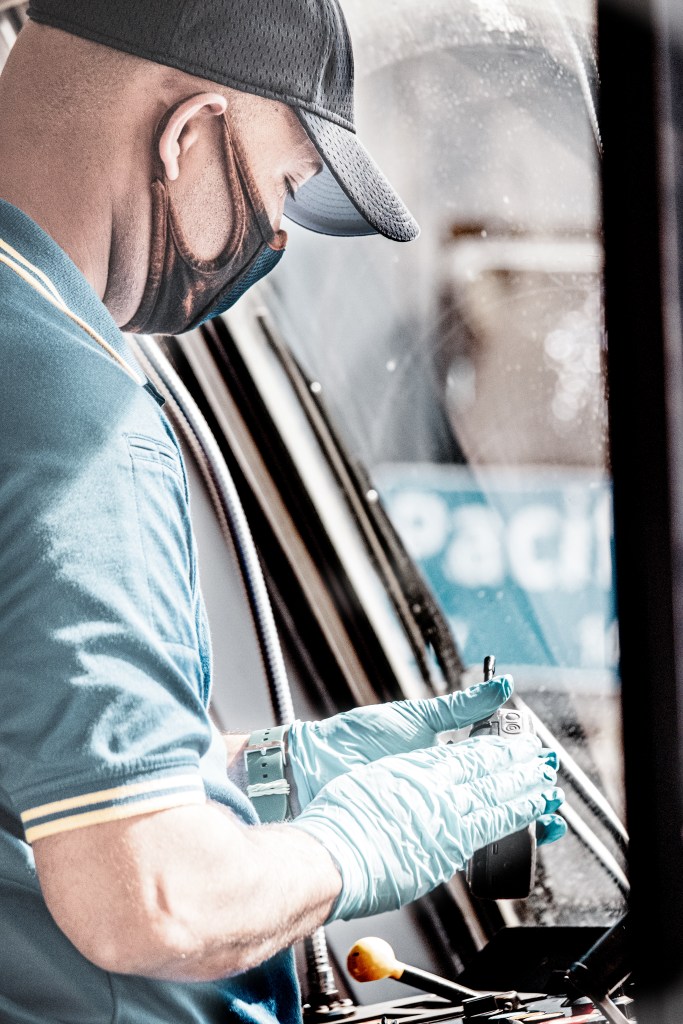
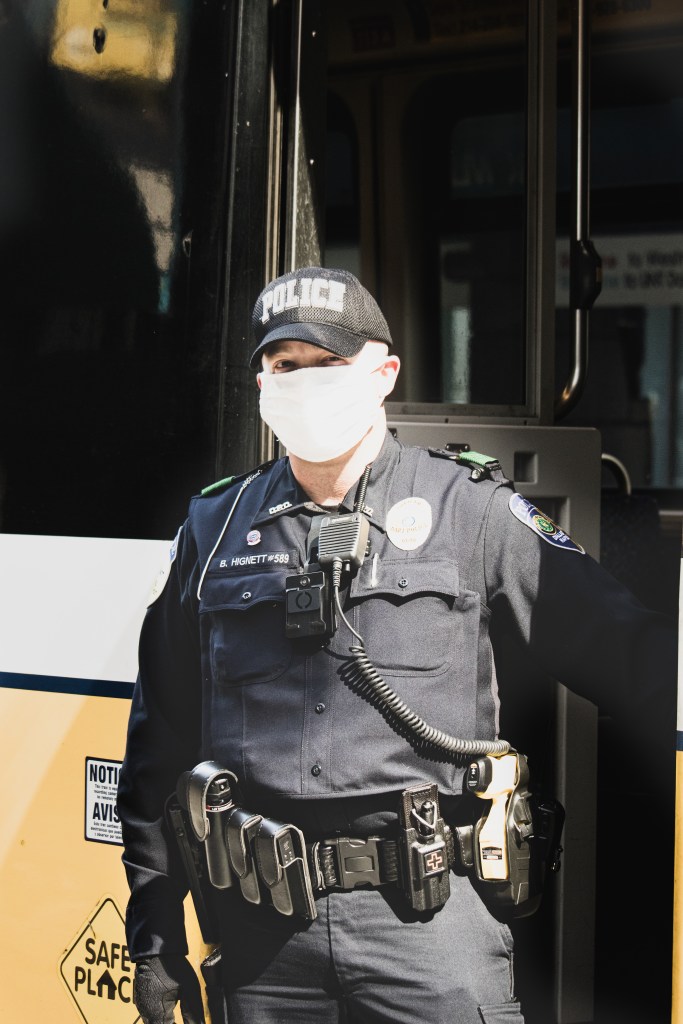
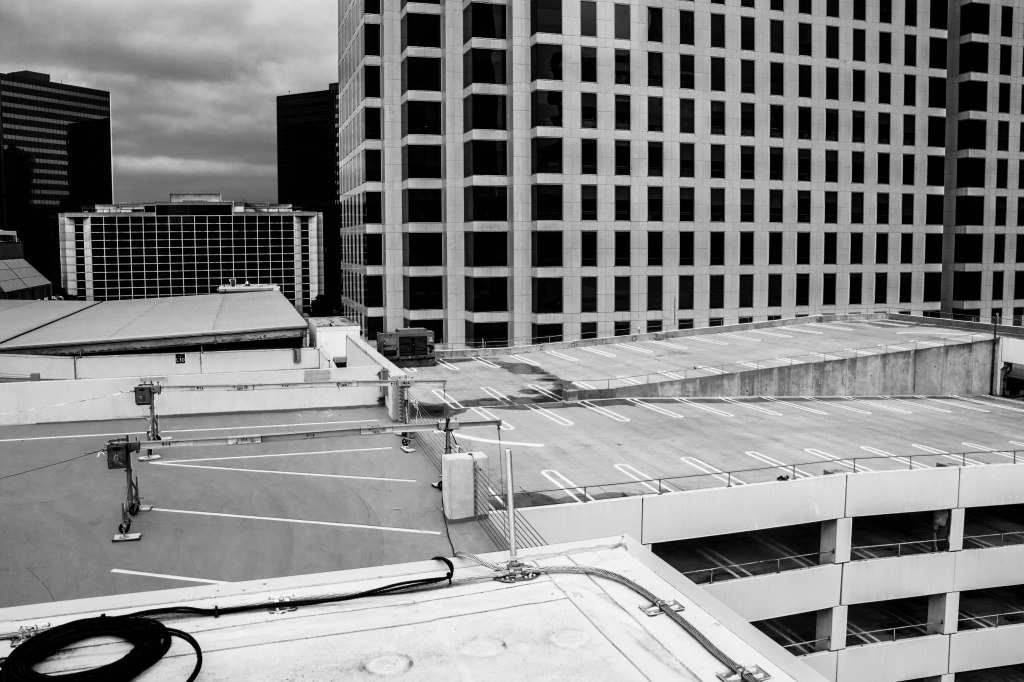
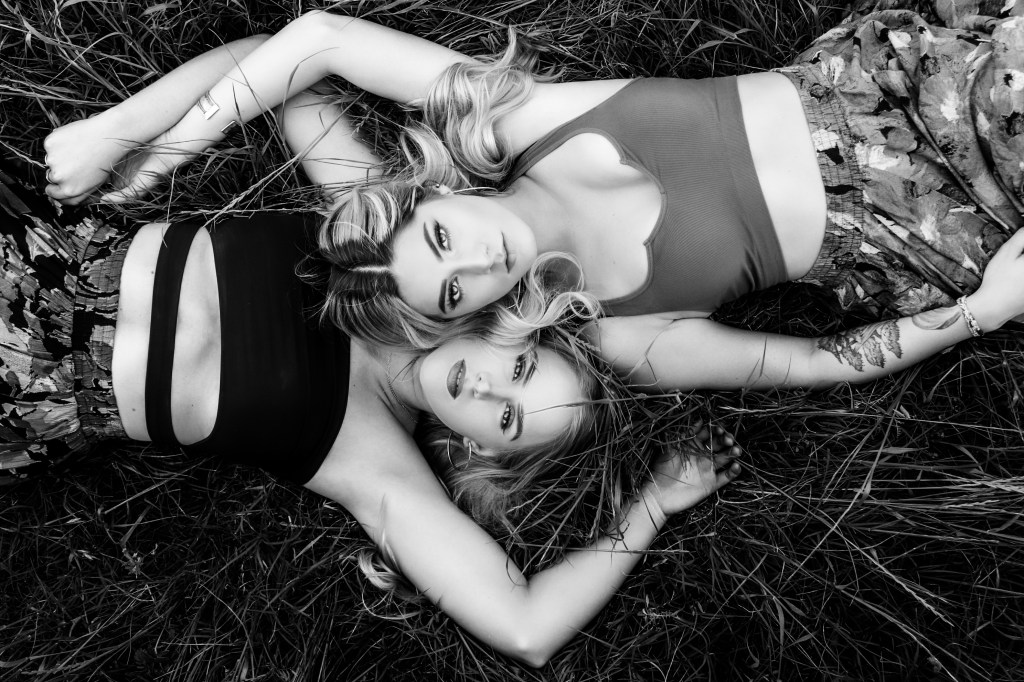
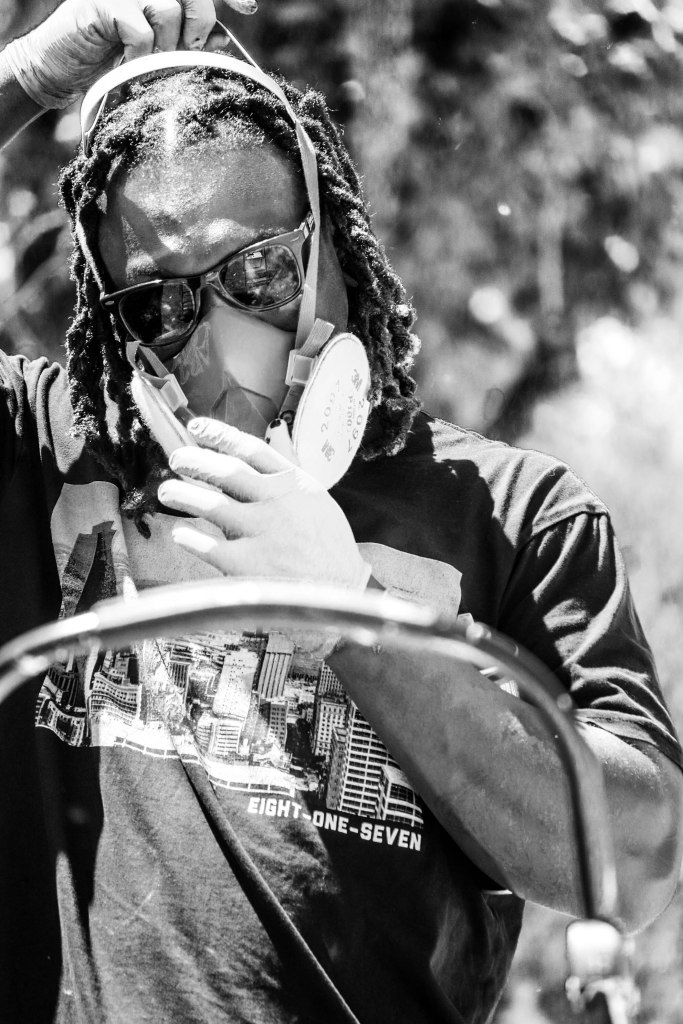
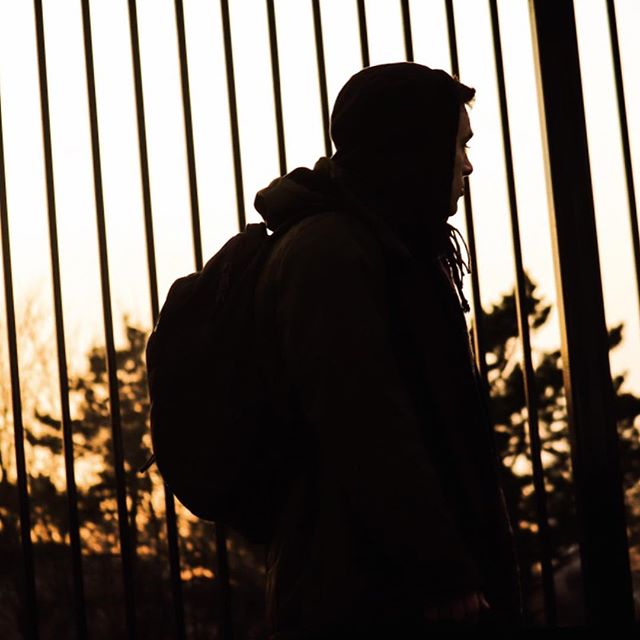
I have done my fair share of photography during this pandemic and lockdown. I see this as an opportunity for important photo-journalism, but it must be done responsibly. For one, I am within 6-feet of no one when I photograph, almost always using far-distance lenses to accommodate this task. That being said, I wanted to list a few do’s and don’t I’ve learned to use.
DO- Wear a mask AND gloves. This makes everyone else feel safe around you.
DO- Wear nice clothing. This might seem like a weird one, but I have always received far better reception from strangers and businesses when shooting in the field. Most people will understand that your intentions for taking pictures are pure if you look the part.
DO- Respect people’s consent. Know when it is appropriate to take a photo and when it isn’t. IF you want to capture an intimate situation, then ASK! If you approach people with a friendly face and a reasonable request, many are inclined to pose!
DO- Ask permission. Sometimes it isn’t possible to ask for consent, and from what I have seen from professionals, the best you can do is try to limit those encounters. REMEMBER: taking photos in a public street or area that allows for photography use is legal and does not require consent from those people who are subjected to that photography within reasonable understanding that they are being photographed. What does this mean? You can’t sit in bushes and secretly photograph cute girls at the park. But if a girl is walking adjacent to a bench in front of you at the park, you are more than welcome to include her in your photo, consent or not. THIS BEING SAID: you should still always ask for consent to those people when the opportunity arises, this will eliminate most awkward and frustrating encounters, and is the ethically right thing to do.
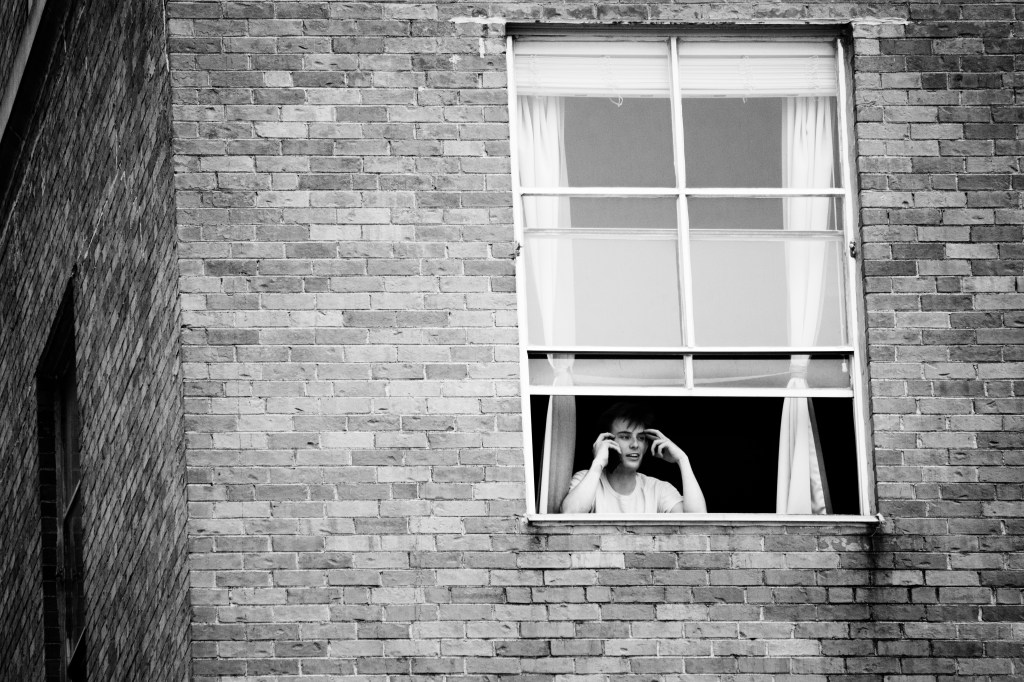
DON’T: take pictures through peoples windows, on their balconies, or in there cars without their consent. This may seem harmless, but is the quickest way to push past a strangers comfort zone. Although these spaces might be viewable to the public, they are private. And in context, consent should be asked for.
DON’T: Ignorantly Tresspass. I’m going to use this one with a grain of salt. I think that many views people are interested in seeing are ones you arent supposed to get to. Or ones that are private for most. That being said, if you see an area that is not yours, try your hardest to locate a property manager of some kind and ASK PERMISSION. Once again, this is a harmless ask, and most times it is greeted with a kind response, especially if you take heed of this situation and show them your work!
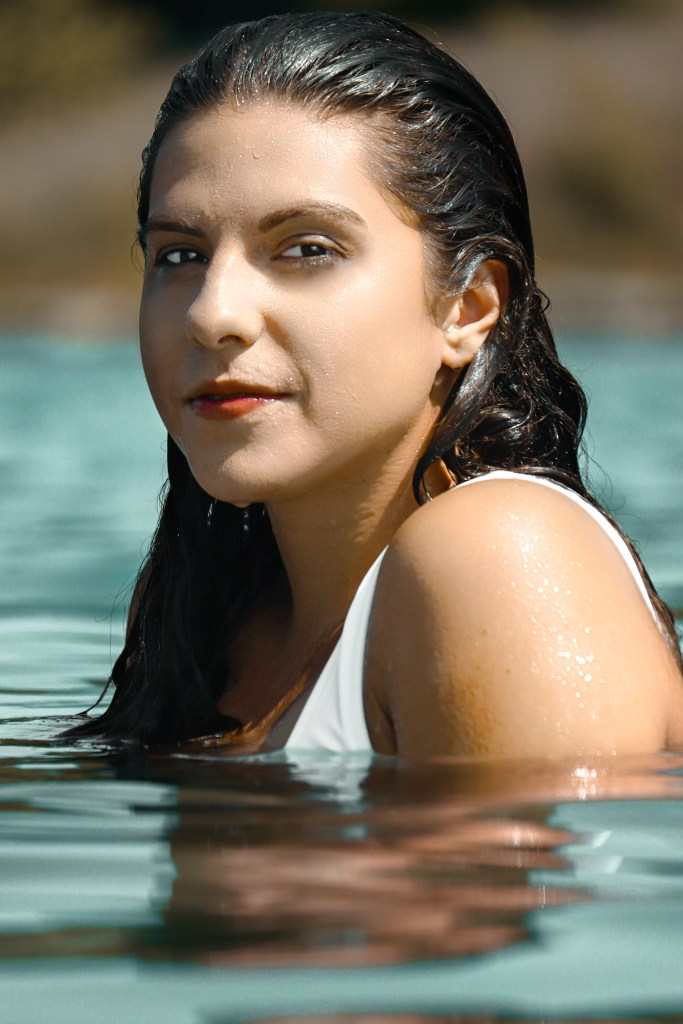
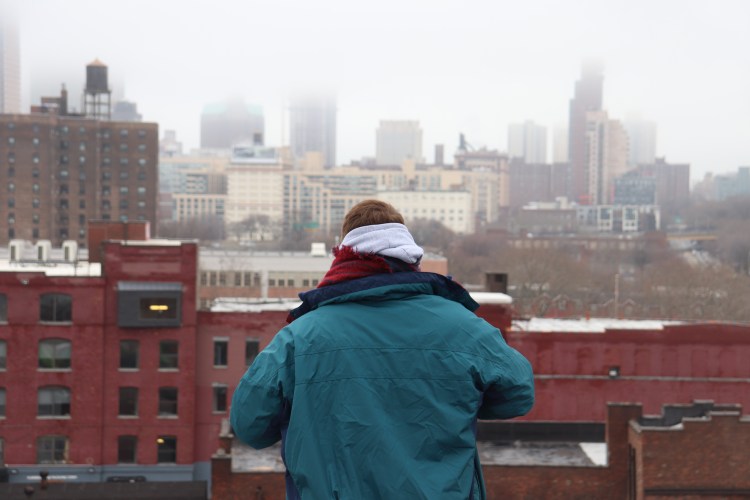
Here are some photos I’ve taken relevant to this crisis:
Lastly, I wanted to link a video from the legendary Josh Katz on how he’s been capturing rooftop culture in Brooklyn during this pandemic. –
This is a self-analytical evaluation of my photography so far. I want to get a sense of where I am and where I am headed, and the steps I will take to get there through a critical self-evaluation.
I have been taking photography seriously since December of 2018. Since then I have made an effort to travel across the country on several different occasions and expose myself to a variety of new friends and activities to open the door to what I wanted to photograph. Now jump to early and mid-2019 and at this point I have photographed engagements, boxing matches, classic-cars, and plenty of friends and family. Going into 2020 I have joined multiple media-teams including KTSW multi-media and ventured into other videography and photography gigs including bars and concerts. Now, I have focused heavily on my editing abilities while taking pictures of architecture and plenty of beautiful faces.
As far as my ability to find photography/videography assignments, I have been quite happy with myself. My hardest criticism comes down to my photos themselves. At times I feel like I am too ambitious and have not yet mastered the basics of color adjustment and lighting elements to jump towards more creative tasks. This has been a struggle, as I always want to push myself. So studying editing techniques, tricks, and skills that are relevant to my level of shooting are essential.
Lastly, I want to say thank you to all the amazing people I have met during this journey and all the people I am yet to meet. I am always shocked to be welcomed in by businesses and strangers to shoot photo’s. I have a special place in my heart for every person who has been on the other end of this lens these past few years. So here is to every oak tree, butterfly, crested-goose, smiling face, classic car, silver guitar, jumbo-jet, basketball net, and everything else I might photograph in-between. This camera keeps me sane, keeps me connected, and keeps me emotionally and physically invested in this amazing world around us.
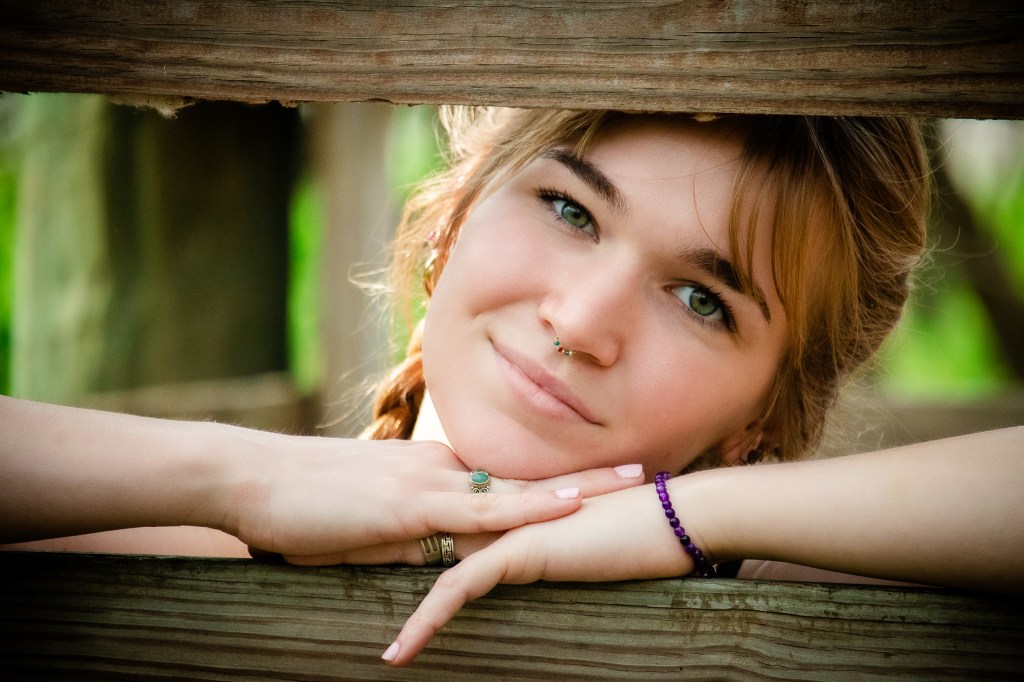
Here are some of my favorite shots from this year-

I will leave you with this. If you are trying to get better at editing in any adobe programs please check out PixImperfect on Youtube. He is one of the most helpful editing tutors out there, and I would be a little editing-simpleton if not for his shared wisdom. Here is a link to his page! – https://www.youtube.com/channel/UCMrvLMUITAImCHMOhX88PYQ
I have chosen to review and shout-out one of my favorite creators in the photography game right now. Josh Katz runs a YouTube channel and has amassed over 340K subscribers and 90K Instagram followers. Josh is known for innovative lifestyle photography and creative walkthroughs and explanations of his shoots. I cannot begin to explain the countless tips and tricks Josh’s content has taught me over the years and I hope he does the same for you.
Please feel free to visit Josh’s Youtube Channel here: https://www.youtube.com/user/enminem
You can also find Josh and his collection of incredible photos on his Instagram here: https://www.instagram.com/joshkatz/

In the next two posts I will discuss the various techniques used during studio-portrait and lifestyle-portrait photography. These styles will be broken down into categories of lighting, scenery/posing, editing opportunities, and experimentation! These four categories can be taken advantage of in several different ways to create the cohesive attitude you are trying to achieve.
“Photography is knowing where to stand” – Ansel Adams
In this post, I want to discuss the technicalities as well as the practicalities of finding your shot. This mission of “finding the shot” boils down to one simple rule that photographers have followed since the beginning of the craft: knowing where to stand.
As easy and self-explanatory as it might sound, there are an abundance of tools and tricks I use everyday to better understand and “find” my shot. These are broken down into two categories: Context and Light.
CONTEXT:
Sounds simple enough, doesn’t it? Context should be your highest motivator when going to shoot photography. Personally, it is one of the first things I think about before even picking up the camera.
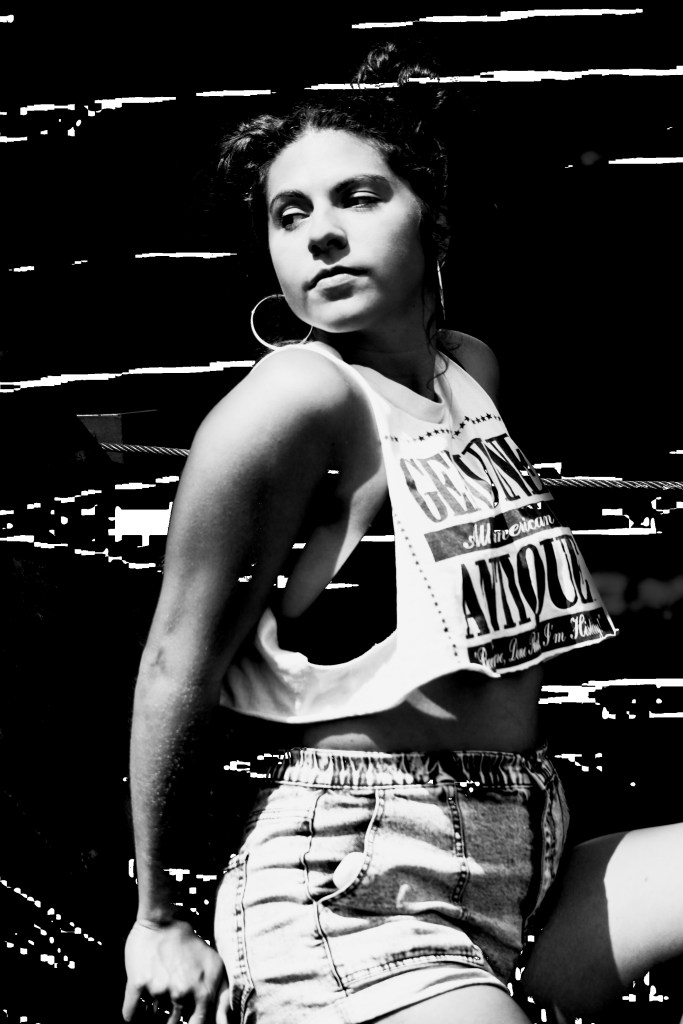
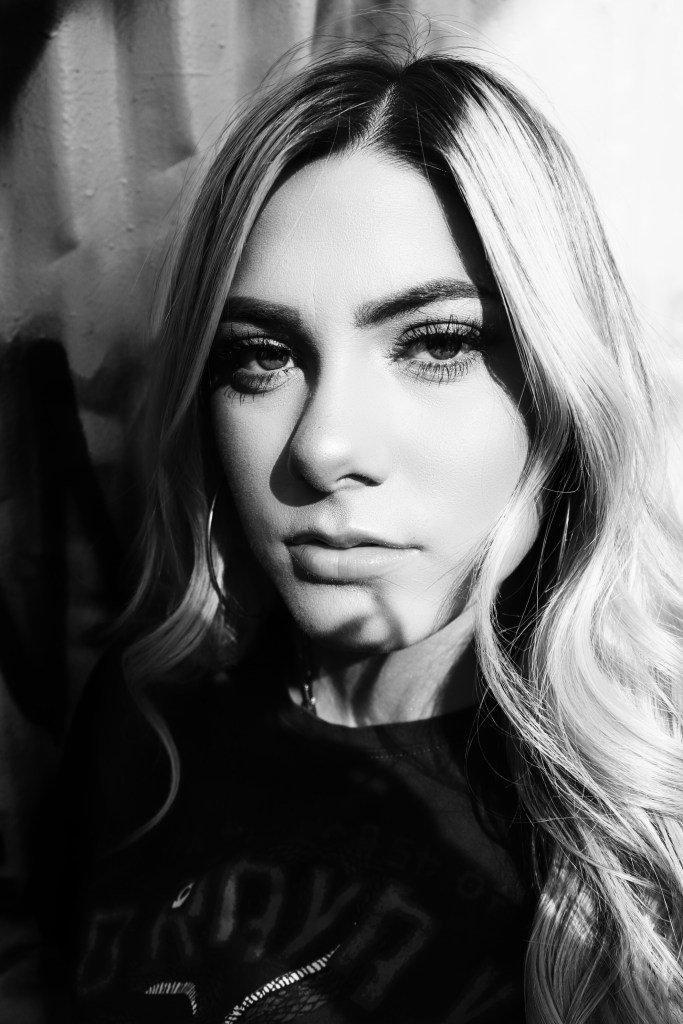
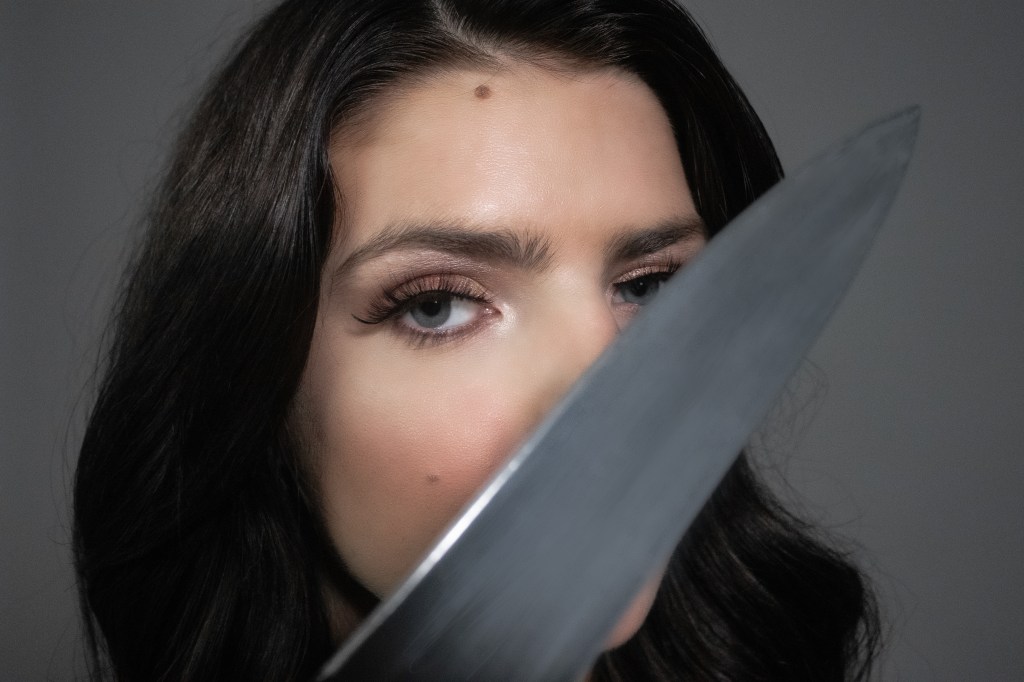
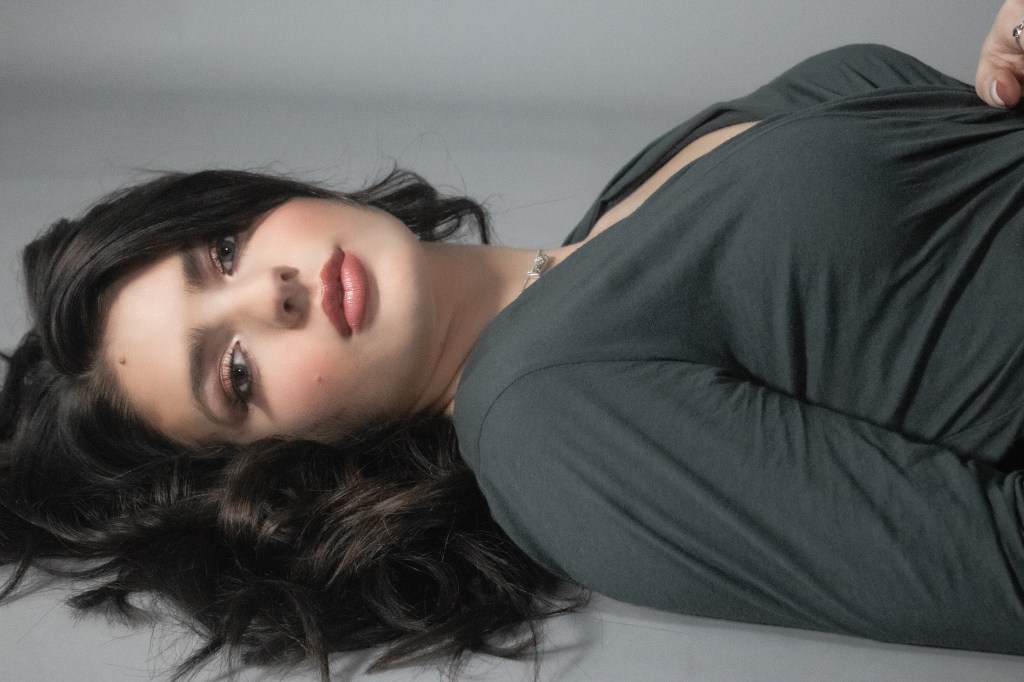
So what do I mean by context? And how can you use it to your advantage when shooting? Well, when shooting free-lance, it’s important to understand the conditions in which you will be shooting to ensure you bring the right equipment and shoot for the respective vibe. What do I mean by this? I mean that if I am preparing to shoot a portrait, I want to be made aware of all information that can make it easier for me to centralize a feeling I want to convey through my shot. For instance, if I am shooting a dark-haired model, dressed in all black, shooting behind a cemetery, this gives me ample information to identify what methods I want to use to shoot. These contextual clues are used throughout the shoot to ensure your spectrum of photo’s retains a central consciousness. Of course, the shooting/lighting/equipment methods you are going to use are going to vary extremely from shoot to shoot given one thing: Context.
One important thing to remember is that Context is NOT Composition. Context is the understanding of who/what/when/why details of what your image is for. Composition is the actual constructive formation of your photo, what it includes, and where those things are in the photo.
Light:
Light, light, and more light. This is a photographers weapon of choice. Light is what we can use to convey every single type of feeling imaginable, and is used in harmony with context to ensure your vision is made a reality. Light that you will frequently use is going to be broken down to natural and manufactured light. Keeping your context in mind, you will use one or the other, or a combination of both to achieve the look you want. Experimentation is a key part of learning just what light can do for your photos, so be sure to go out and practice! To teach you more about just how light works I have attached this very useful three minute video!- https://www.youtube.com/watch?v=EJWNQv01VtI
Using the three rules of this video to understand just how light works, you can begin to test these methods through natural and manufactured light.
Here is an example of a quick and easy way that I used context and light to deliver a message through my photo.
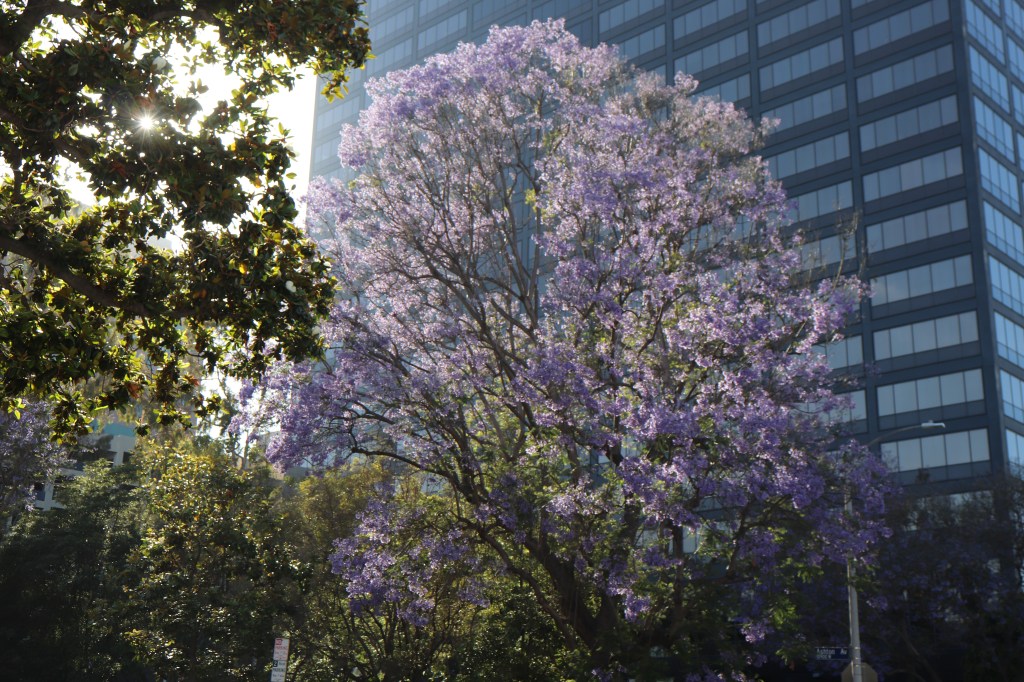
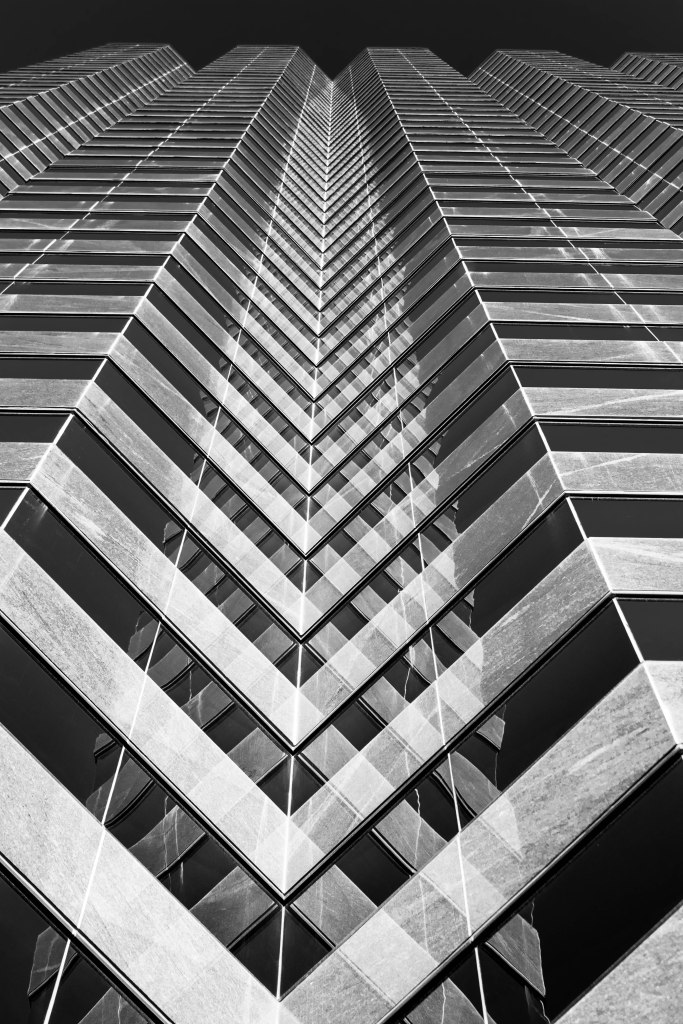
The above photo was taken for a series highlighting the different plants and trees that can be found in downtown Los Angeles. The context of the portfolio was to create an uplifting feeling of discovering beautiful scenery in a place crowded by traffic and buildings. Given this context, I shot the above tree with plenty of building and infrastructure in the background, but the essential piece of the photo is of course, the tree. I used the natural light of the sunset in the background to further illuminate that feeling of nature and beauty. Given this example, one can imagine how the same light in the photo can be used to deliver different messages. Context and Light are our tools for writing this message.
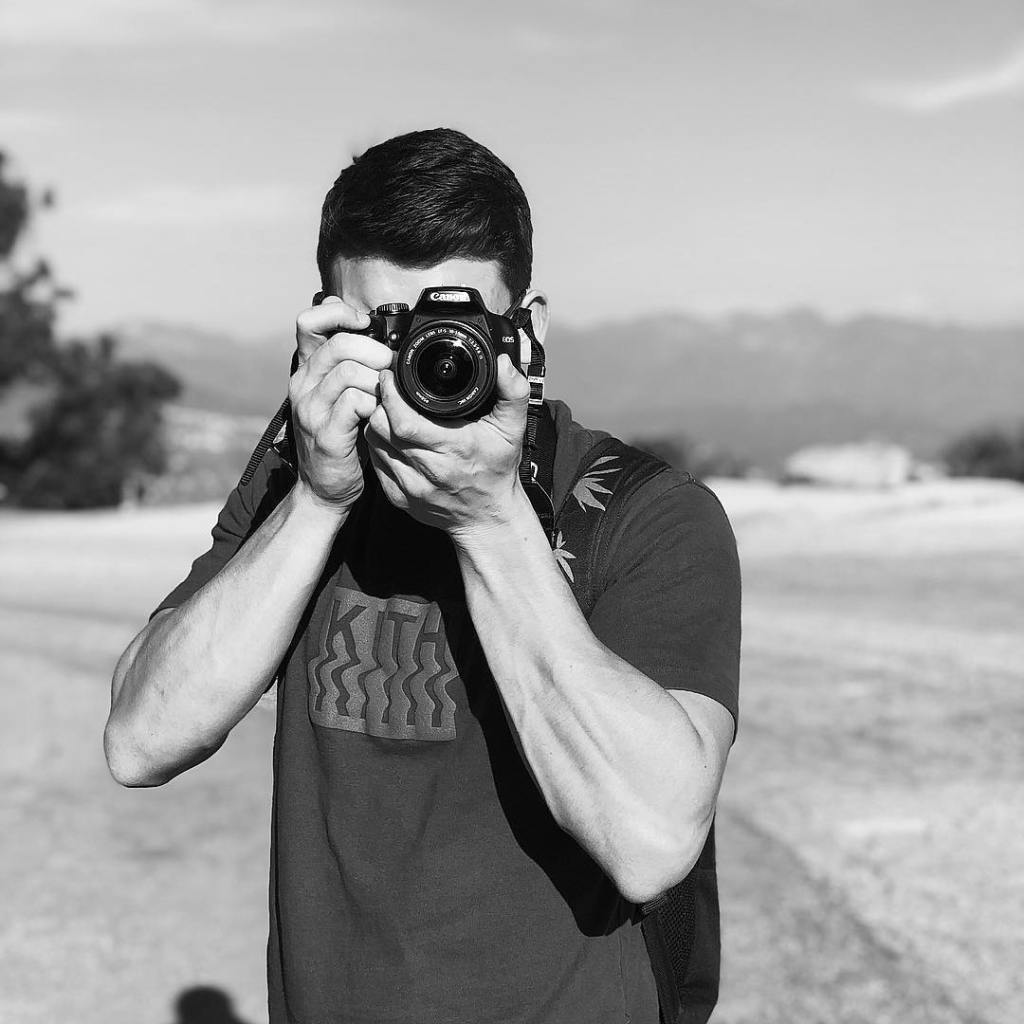
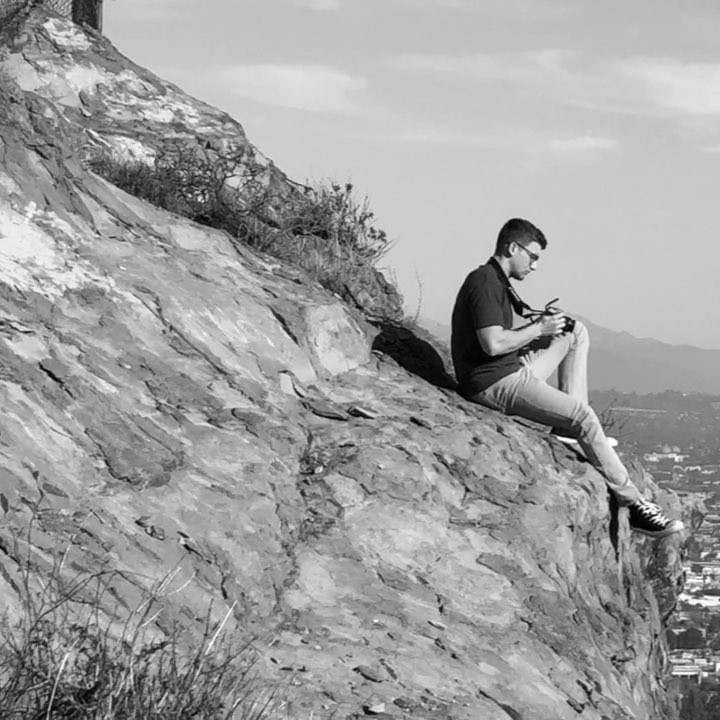
Welcome to my photography blog! My name is Jaron Cass and I have been doing photography and videography for about three years. What started as a hobby has quickly grown into a relentless passion. I am currently studying Mass Communications at Texas State University in San Marcos, Texas. Other interests of mine include travelling, fitness and literature.
Photography is something that has allowed me to step out of my comfort zone and recognize something that I have no experience with. I have been photographing for years now and the learning process is never-ending. Because of this cycle of challenges and obstacles, I feel like I will never be where I want to be in the field. Because of this, I am free to make mistakes and create at my own pace. The process has taught me a lot about myself and continues to be a growing passion of mine.
In this blog I plan to show you a little bit of myself and my individual interests, but also share tricks and tips I have learned along the never-ending journey of learning the best way of when, where, and how to take your photos. I will share photos of my own and explain my methodical approach. We will also learn a little bit together as I explore night and under-water photography as well as learn more about drone videography!
The audience of this blog can vary from the most novice of photographers to even the most advanced. Most of the obstacles and challenges we will focus on in the blog are faced by creators of any level. If taking photos isn’t your thing, I believe people will still take interest in my galleries and photos I plan to post!
My current shooting equipment is as follows:
Canon EOS Rebel T7i – DJI Ronin S Camera Stabilizer – Parrot ANAFI Drone 4K
To keep up with my personal-life and lifestyle photography, check out my instagram! https://www.instagram.com/jaronccass/
